Wirewolf / Guides / Starlink Wi-Fi coverage
Dead zones · Mesh Wi-Fi · Wired backhaul · Outdoor coverage
The dish is only half the job. The Starlink router is a single access point sitting wherever the cable happened to come into the house — and on anything bigger than a townhouse, that's not enough. We're a certified AV field engineer and control-system programmer with an ex-Bell network background, which is the whole reason this page exists: most installers mount the dish and leave. We build the network.
// Written by the guy who runs the cable, not the guy who sold you the router
When Starlink gets installed — whether that's a DIY setup or a professional one that only handled the dish — the router usually lands wherever the cable could get into the house without a lot of extra work: the nearest closet to the mount, an attic hatch, a basement wall behind the furnace. Nobody sat down and picked that spot for Wi-Fi coverage. It's just where the wire was shortest.
On a small unit that's rarely a problem. On anything bigger — a 3,000+ sq ft house, a cottage with a bunkie out back, a farm with a barn and a workshop past the yard — it becomes the whole problem, because Wi-Fi range from a single router indoors is realistically 30 to 40 feet before walls, floors and furniture start eating into it, and that's before you account for what those walls are actually made of. One router covering a property that size was never going to reach everywhere; it was only ever going to reach a fraction of it.
So the internet tests fine standing next to the router in the basement and falls apart at the top of the stairs, in the primary bedroom at the far end of the house, or out at the bunkie fifty feet from the back door — and the homeowner assumes something's broken. Nothing is. The Starlink router is doing exactly what a single access point does. It's just not enough access point for the property it landed on.
The first instinct is almost always the same: grab a $40 Wi-Fi extender from a big box store, plug it in halfway between the router and the dead zone, and hope. It helps for about a week, and then two problems show up. First, a repeater receives the signal and rebroadcasts it on the same radio it received it on, which roughly halves the usable throughput with every hop — you're not extending full-strength Wi-Fi, you're extending a weaker copy of it. Second, it usually creates a second network name, and phones being phones, yours will lock onto whichever one it connected to last and refuse to hand off — so you end up walking back within range of the real router and still crawling along on the weak extended one.
The bigger issue is what the extender is actually up against. Steel siding, poured concrete foundations, foil-backed insulation, and roughly sixty feet of open ground between a house and a second building will all knock a Wi-Fi signal down to nothing, and no amount of extender hardware changes that — it's the same radio-frequency physics that kills your cell signal in a parking garage. We get called after the extender's already been tried and already failed. It's not a bad idea because it's cheap; it's a bad idea because it's fighting a problem it was never built to solve.
There's a hierarchy here, and we work down it in order because it's the order that actually holds up on site — not because mesh is cheaper for us to sell or wire is more profitable to run.
Wired backhaul first. A real Ethernet run ($120/drop) between the router and an access point beats any wireless hop for speed and reliability, every time, full stop. If there's a practical path for a cable — through a basement, along a baseboard, up through an attic — that's the answer before anything wireless even gets discussed.
Mesh nodes where cable genuinely isn't practical. Mesh Wi-Fi (from $199/node, installed and configured, hardware at cost with receipt shown) fixes the same dead zone a repeater claims to fix, but properly — the nodes talk to each other on their own dedicated backhaul, not the same radio your phone and laptop are using, so throughput doesn't collapse the way it does with a cheap extender. We place nodes by walking the property with a signal meter and finding where coverage actually drops, not by picking whichever outlet happens to be closest to the complaint.
Outdoor-rated access points for anything outside the house. A barn, a dock, a pool house or a bunkie needs hardware rated for real temperature swings and moisture, not a spare indoor router zip-tied under an eave and left to fail by the following winter.
One SSID, roaming properly. Every wired access point and every mesh node gets configured under a single network name and handed off correctly, so your phone moves between them automatically as you walk the property — you shouldn't have to know, or care, which physical box you're connected to at any given moment.
We walk the property first — phone or laptop in hand, not guessing from a floor plan — and find the actual dead zones, which are frequently not where the homeowner assumes they are. A signal reading tells us more in five minutes than a description over the phone ever will.
From there we plan the cable routes where wiring makes sense, work out mesh node placement where it doesn't, and install everything as one configured network rather than a router plus a pile of standalone gadgets that happen to share a house. Before we pack up, we verify coverage at the spots that were dead when we arrived — not just at the router, where it always looks fine.
Cables get labelled at both ends, and the network gets documented: SSID, node placement, what runs where, what's connected to what. If you or whoever touches this system next needs to troubleshoot it in six months, they're not starting from a blank wall and a mystery cable.
A rural property outside Milton, two houses on the same lot, both wanting Starlink and both actually needing to reach every room instead of just the room the router happened to land in. We mounted a dish on each house — two separate Starlink connections, because the buildings are far enough apart that one dish and a long cable run wasn't the sensible answer — then built them into one coherent network instead of leaving them as two disconnected internet drops.
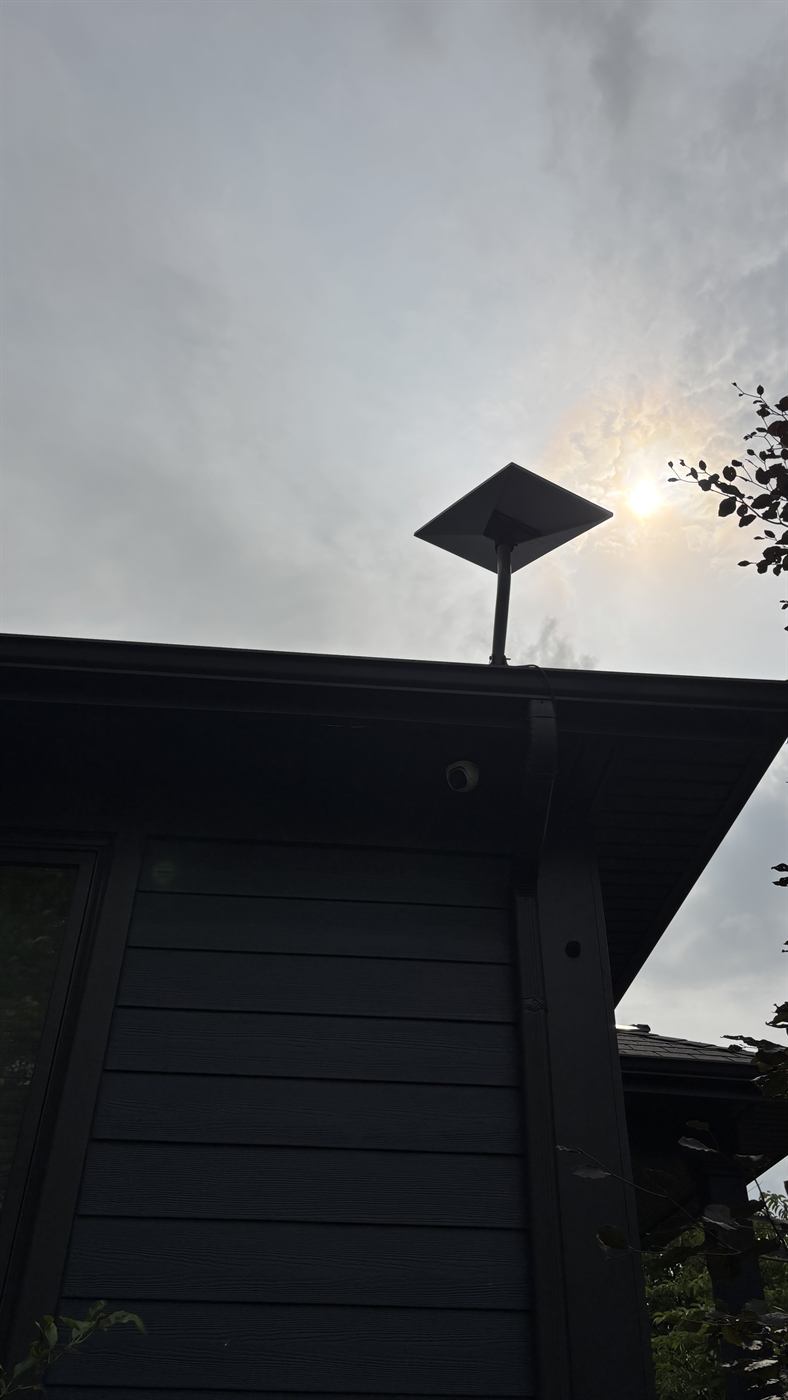
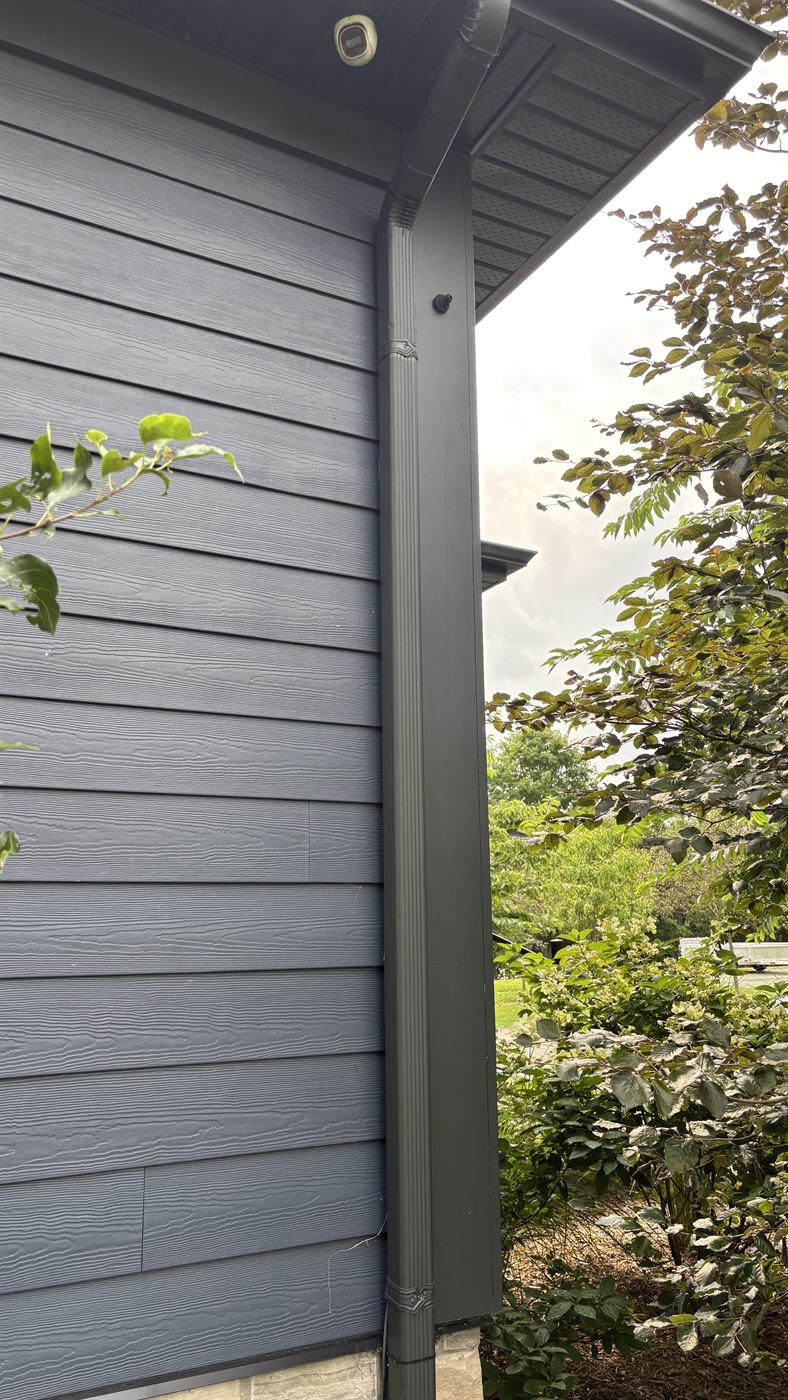
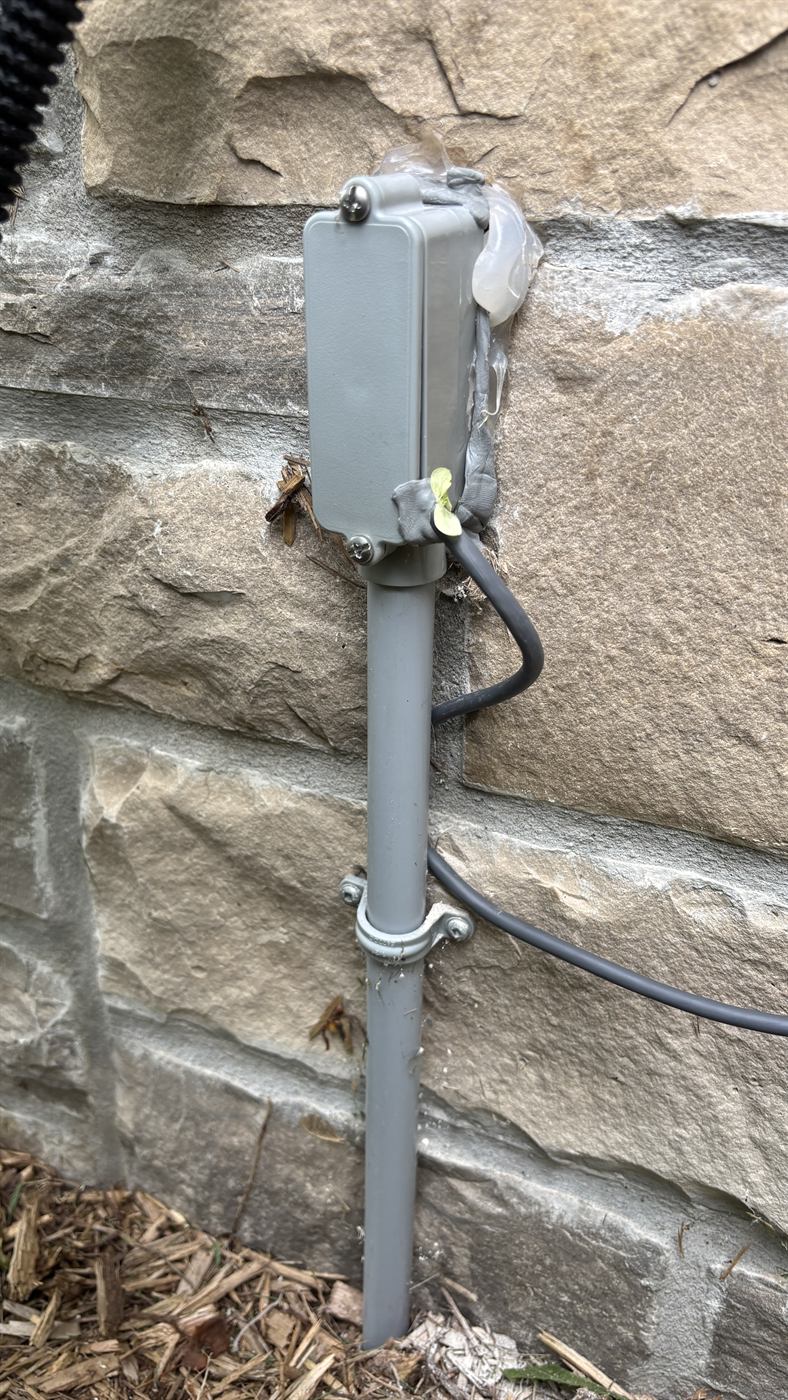
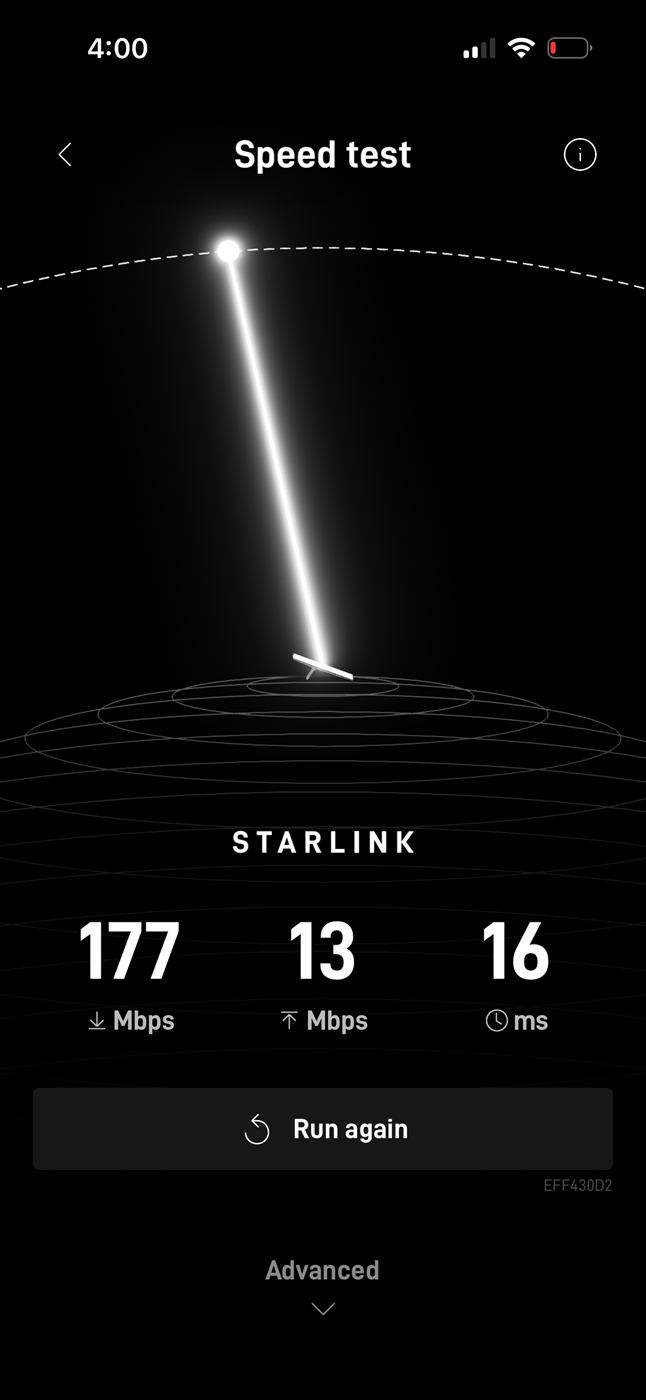
// Photos from the job, August 2026. Published with the owner's permission.
The main link between the buildings was a 150 ft custom cable run, clipped along the facade and routed inside rather than buried or strung loose across the yard — out of the way of mowers, weather and anyone tripping over it. Three mesh nodes then split coverage across both structures under a single network name, so walking from one house to the other didn't mean reconnecting to a different Wi-Fi network, or losing the call you were on halfway across the lawn.
That's the job in miniature. Mounting the dish is the easy afternoon. Getting a property that size actually covered — cleanly, with cable routed like it's meant to be there for years — is the part that takes planning, and it's the part most Starlink installs skip.
We run the same conversation anywhere in the region — see Starlink installation in Milton or Oakville & Burlington for local pricing if either is closer to you.
Same logic every time: wired before wireless, mesh sized to the property by a survey, nothing quoted over the phone without a walk-through or a floor plan.
// Prices in CAD before HST. Hardware supplied at cost with receipt shown, or bring your own — the labour price is the same either way.
// Lifetime workmanship warranty on every install — see the terms. Pay on completion, nothing upfront.
// Setting up more than networking? See smart home installation. Not sure Starlink is even the right call? Start with our rural internet guide.
// Full zone table: wirewolf.io/#travel. Local Starlink pricing: Muskoka.
per mesh node, installed and configured — or $120 per Ethernet drop for wired backhaul
TEXT YOUR FLOOR PLAN